
Create a code
1
Open Discounts
In the dashboard sidebar, click Discounts. The page lists your codes, and New code starts a new one.
2
Fill in the form
- Code: the text the buyer types, for example
LAUNCH20. Use letters, numbers, dashes, and underscores, up to 64 characters. Buyers can type it in upper or lower case. - What it gives: pick Percent off, Amount off, or No discount — just track who it brings in. A percentage is between 1 and 99. For a full first period at no charge, use a free trial instead.
- Name: optional. “For your records. Buyers never see it.”
- Only for some products: tick it to pick the products the code works on. Leave it clear and the code works on every product you sell.
3
Click Create code
The code works at checkout right away.
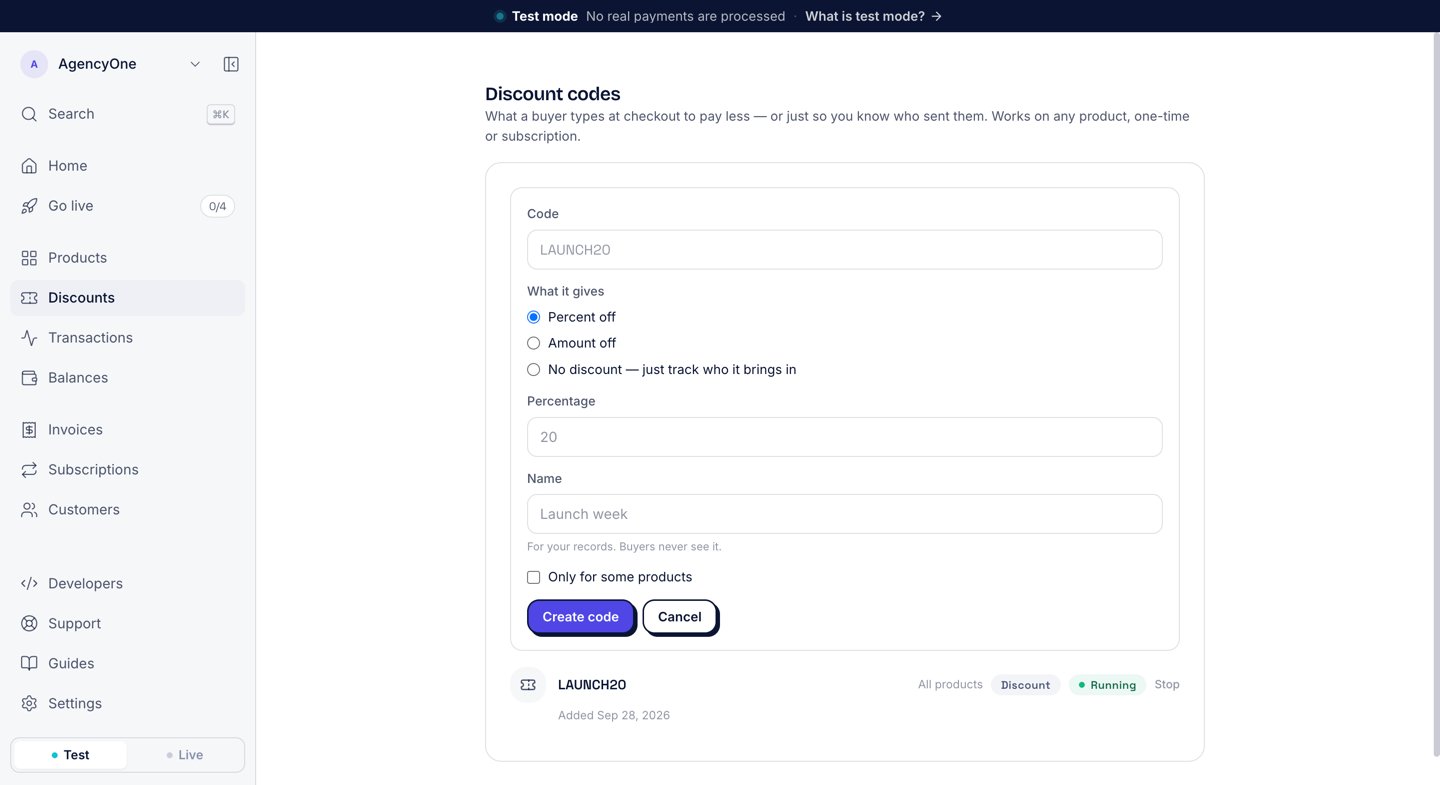
The New code form. This code takes 20% off every product.
Your codes
Each code has one row: the code, the products it works on, its kind (Discount or Tracking), and its state (Running or Stopped). Click a code to see what it takes off and how many times buyers used it.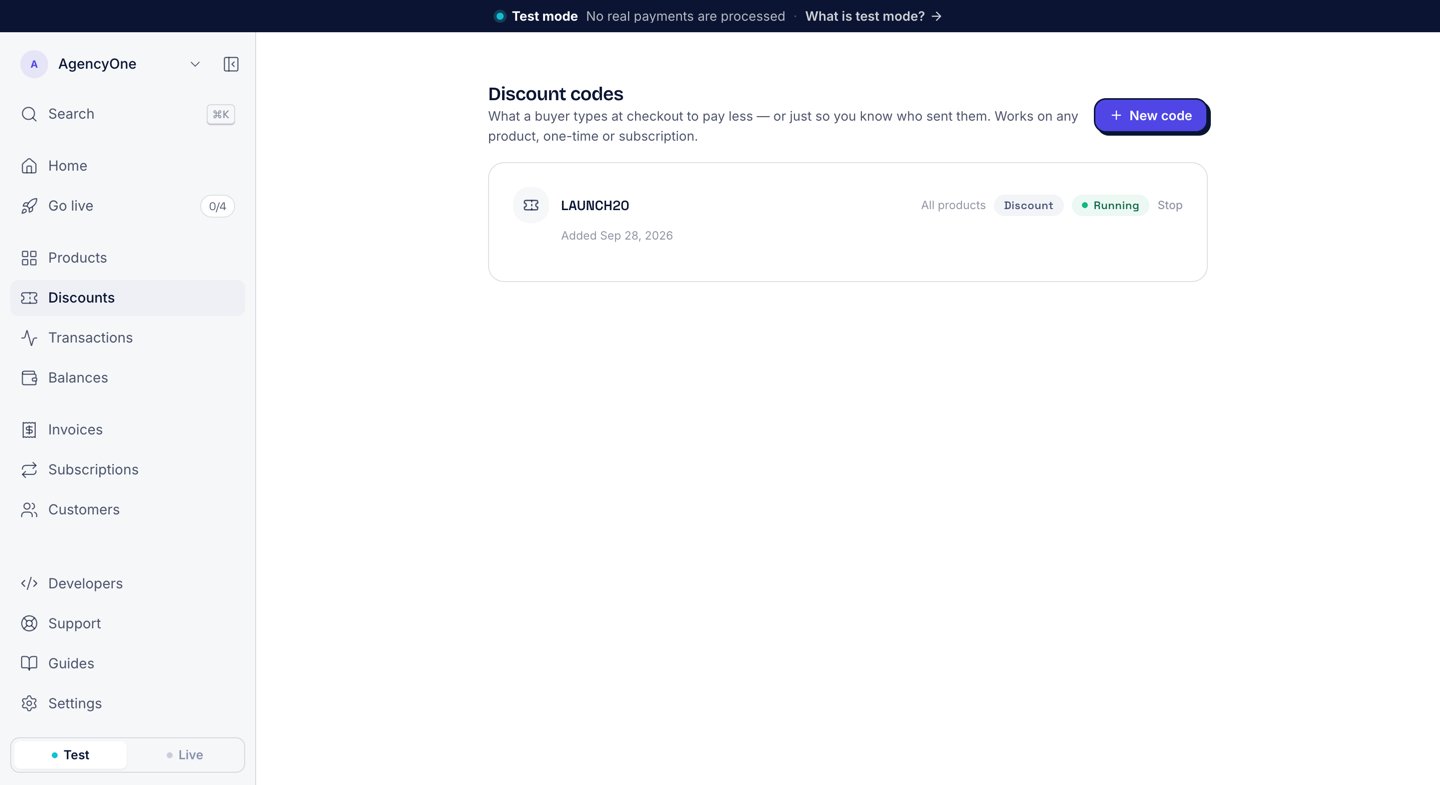
The Discount codes page with one running code.
At checkout
On the hosted checkout, the buyer sees an optional Discount code field under Your details. After Continue to payment, the order summary shows the discount as its own line, and the pay step confirms the code, for example “LAUNCH20 · €2.00 off”.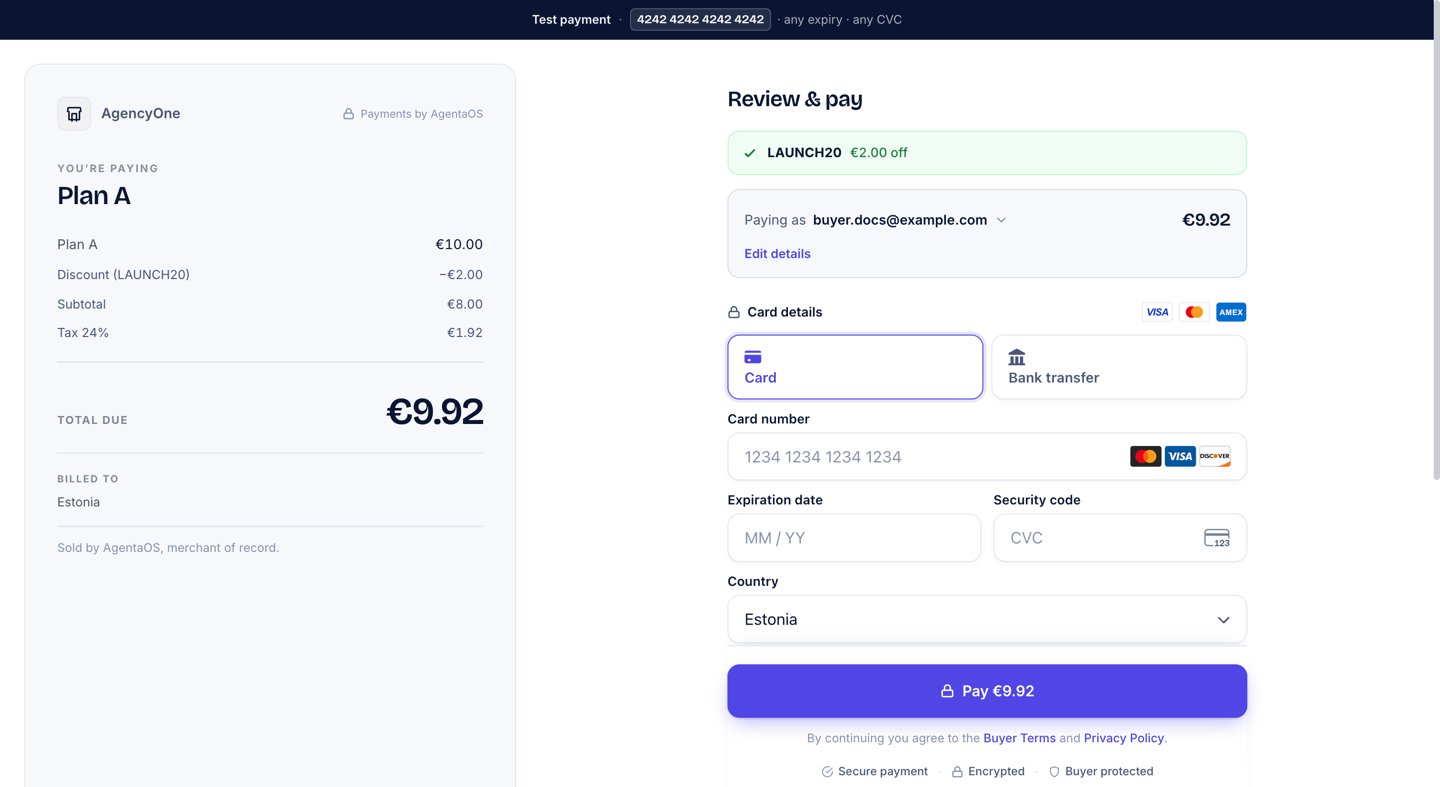
A 20% code on a €10.00 product.
From code
Create and stop codes from the CLI, signed in as an owner or admin. The CLI also sets two limits the dashboard form does not have: a maximum number of uses and an end date. With an API key, the SDK can read your codes and list who used one, but it cannot create or stop codes.- CLI
- SDK
Next steps
Subscriptions
See who subscribed and manage running subscriptions.
Checkouts
Start a checkout from your own code.