
Add the connector
- Claude
- ChatGPT
In Claude.ai or the Claude desktop app, open Customize → Connectors → Add custom connector and paste the connector URL.
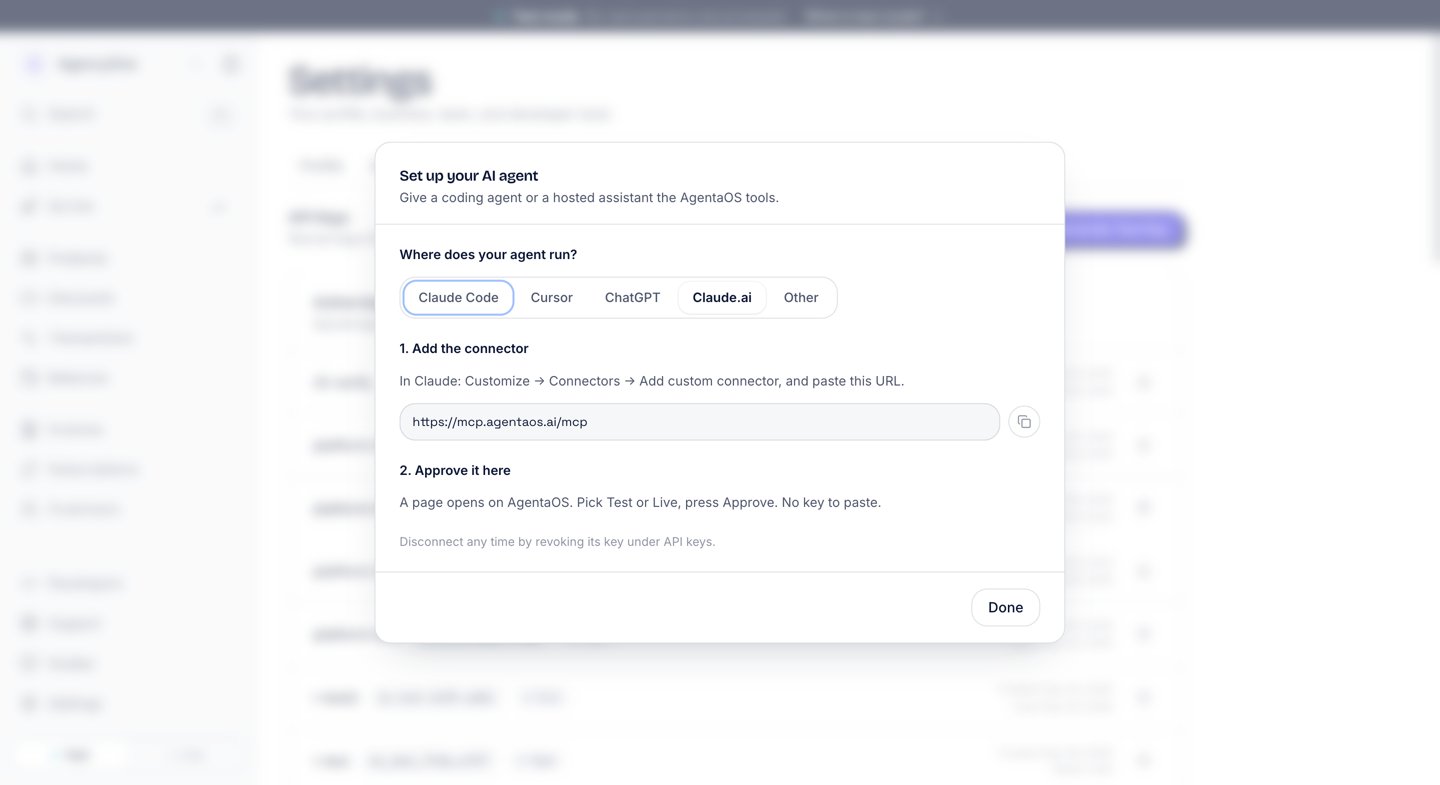
The Set up your AI agent dialog with Claude.ai picked: add the connector URL in Claude, then approve it in AgentaOS.
Approve the connection
When you add the connector, your assistant opens an AgentaOS page.1
Sign in
If you are not signed in to AgentaOS, click Sign in to continue. After you sign in, the page comes back.
2
Pick Test or Live
The page shows Connect followed by your assistant’s name, then to AgentaOS. Pick Test mode or Live mode:
- Test mode: “Nothing is charged. Good for trying it out.”
- Live mode: “Real payments on your live account.”
3
Approve
Click Approve. The page shows “Sending you back to” your assistant, and you return to the chat.
Switch from Test to Live
The mode is fixed when you approve. To take live payments from chat, disconnect, add the connector again and pick Live mode. Live payments also need a verified business: see Go live.Available tools
Your assistant gets all 31 AgentaOS tools, the same set as every other client. MCP server lists each one. Ask in plain words. For example:What is my AgentaOS status?
Create a monthly plan called Pro at 29 euros.
Create a discount code LAUNCH20 for 20% off.
Is my business verification done yet?Each tool answers with a plain sentence, which your assistant passes on to you.
Disconnect
1
Find the key
In the sidebar, open Developers → API keys. Under API Keys, find the key with your assistant’s name.
2
Revoke it
Click the delete icon on that key, then Confirm.
Troubleshooting
Next steps
MCP server
Every tool, and the setup for Claude Code and Cursor.
Run your store from an agent
The walkthrough, from the first prompt to a paid checkout.